How to Prepare for Dustless Floor Sanding in Your Home
How to Prepare for Dustless Floor Sanding in Your Home
Are you considering revamping your home's floors without the mess and hassle of traditional sanding? Dustless floor sanding could be the perfect solution for you. This innovative technique not only ensures a smoother finish but also minimizes the airborne dust particles that often accompany traditional sanding methods. Whether you're preparing to refinish hardwood,
engineered wood, or even certain types of tile
flooring, dustless sanding offers a cleaner and more convenient option. Preparing for dustless floor sanding involves a few key steps to ensure the process goes smoothly and achieves optimal results. From clearing the room of furniture and valuables to ensuring adequate ventilation, proper preparation is essential. Understanding these steps will not only help you protect your home during the sanding process but also ensure that the final outcome exceeds your expectations. Stay tuned as we delve deeper into each preparation step and provide tips on how to achieve the best possible outcome for your floors.
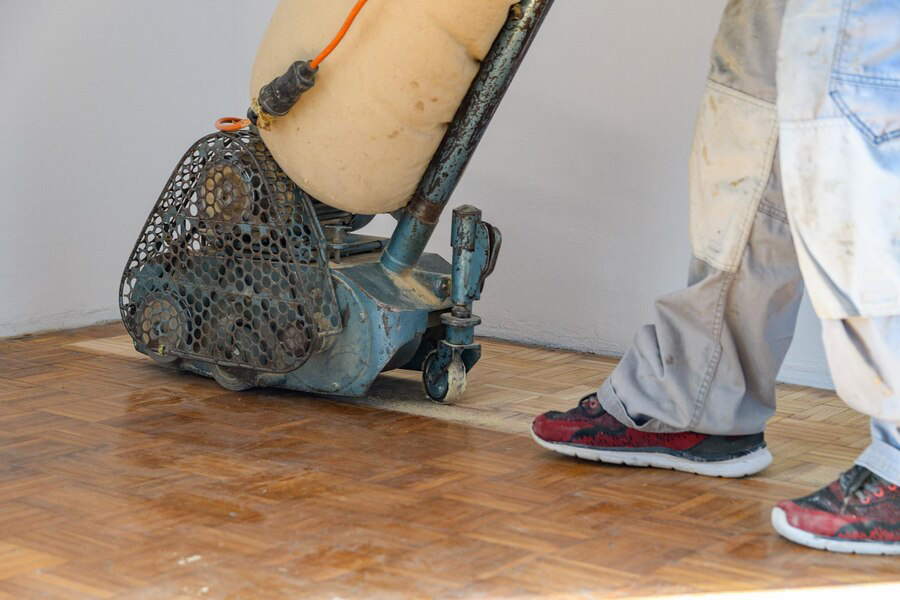
Essential Preparations Before Dustless Floor Sanding
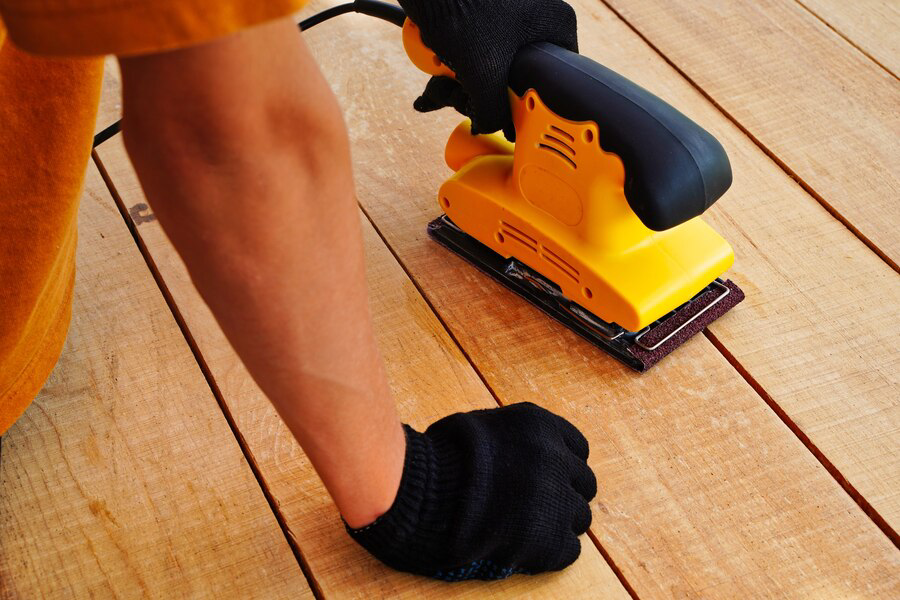
Before embarking on dustless floor sanding in your home, proper preparation is key to ensuring a successful and hassle-free experience. Dustless sanding offers many benefits, including cleaner air quality during the process and reduced cleanup afterwards. To make the most of this method and achieve optimal results, follow these essential preparations:
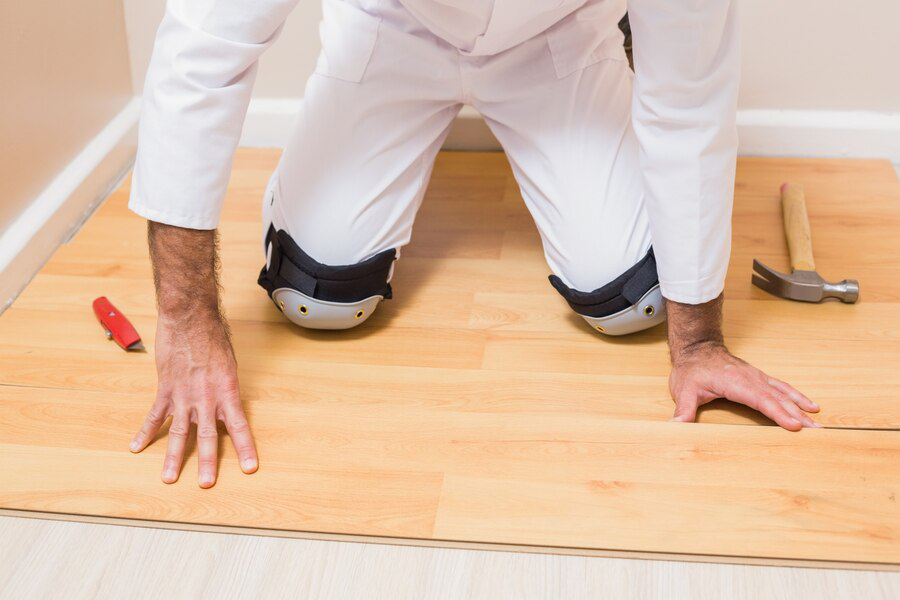
Clear the Area Completely
Before the sanding process begins, remove all furniture, rugs, and other items from the room. This ensures that the entire floor surface is accessible to the sanding equipment and prevents any potential damage to your belongings. Store furniture and items in another room or cover them securely with plastic sheets to protect them from dust.
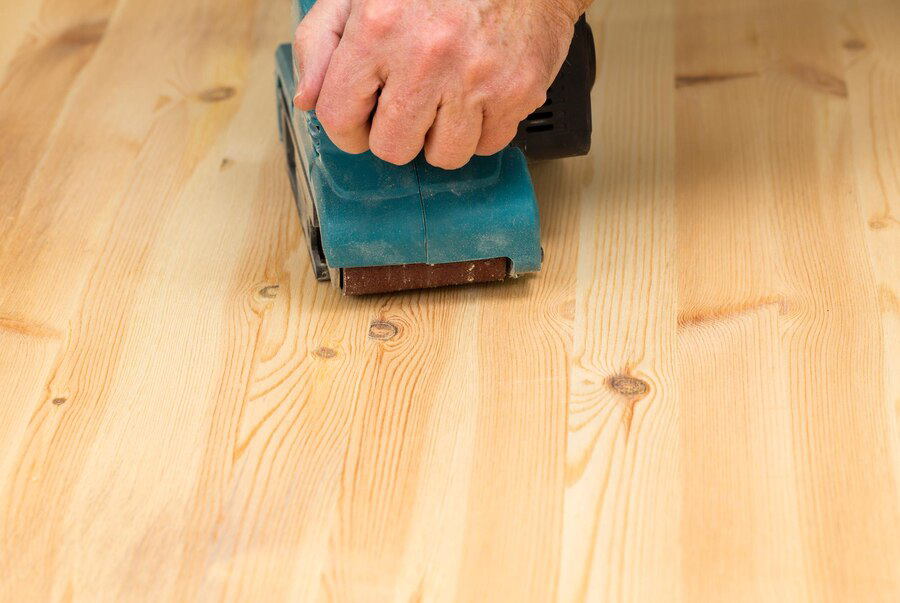
Inspect and Repair Floor Damage
Carefully inspect the floor for any damage, such as cracks, loose boards, or protruding nails. Addressing these issues before sanding prevents them from worsening during the process and ensures a smooth, even sanding surface. Use wood filler to fill in cracks and holes, and hammer down any protruding nails or staples.
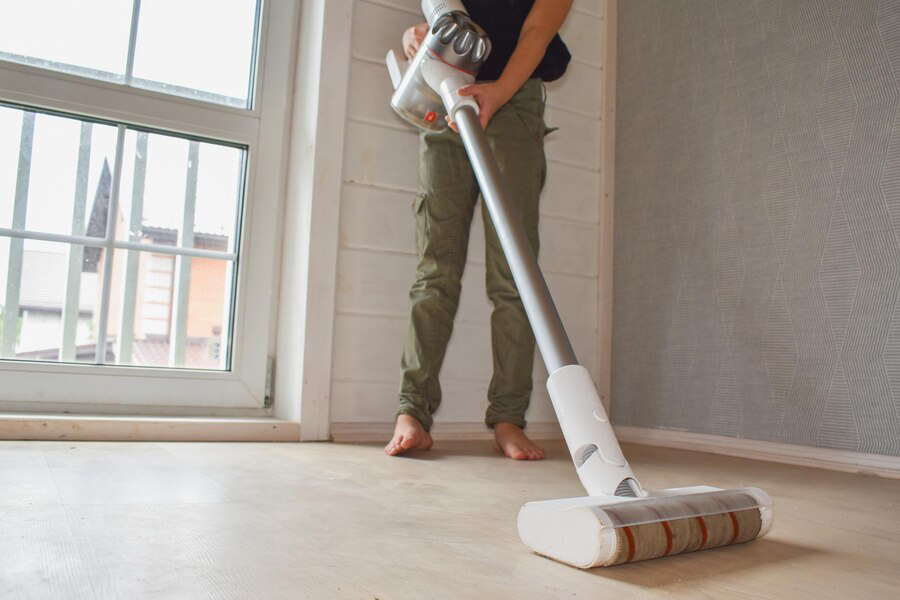
Clean Thoroughly
Vacuum and sweep the floor thoroughly to remove any loose debris, dirt, and dust. Pay special attention to corners and edges where dust tends to accumulate. A clean surface allows the sanding equipment to work more effectively and prevents dust from mixing into the finish. Use a microfiber cloth dampened with a mild cleaner to wipe down the floor after vacuuming to ensure all dust is removed.
Protect Adjacent Areas
Seal off adjoining rooms and areas with plastic sheeting or drop cloths to prevent dust from spreading throughout your home. Dustless sanding minimizes airborne particles, but taking this extra precaution ensures that nearby spaces remain clean and dust-free. Use painter's tape to secure plastic sheeting around doorways and vents to create a barrier.
Ensure Proper Ventilation
Good ventilation is essential during any sanding process to help dissipate dust and fumes. Open windows and doors to create cross ventilation, which aids in removing airborne particles from the room. If weather permits, place a box fan in a window blowing outward to further enhance ventilation.
Protecting Your Furniture and Belongings During Dustless Floor Sanding
Dustless floor sanding offers a cleaner and more convenient way to refinish your floors compared to traditional sanding methods. However, it's essential to take precautions to protect your furniture and belongings from dust and potential damage during the sanding process. Follow these tips to safeguard your possessions and ensure a smooth and successful floor refinishing project:
Remove Furniture from the Room
Begin by clearing the room of all furniture, including chairs, tables, sofas, and any other items that could obstruct the sanding process. This not only allows the sanding equipment to access every inch of the floor but also prevents your furniture from getting scratched or covered in dust. If some furniture pieces are too heavy or difficult to move, consider hiring professional movers to safely relocate them.
Seal Off Doorways and Openings
To prevent dust from spreading to other areas of your home, seal off doorways and openings leading to adjacent rooms with plastic sheeting or drop cloths. Secure the edges with painter's tape to create a tight seal that minimizes dust migration. Use an adhesive zipper door to create a temporary entryway in the plastic sheeting for easy access while maintaining dust containment.
Cover Flooring in Adjacent Rooms
Even with dustless sanding, some airborne particles may escape into adjacent rooms. Protect flooring in these areas by covering them with drop cloths or old sheets. This precaution ensures that floors in other parts of your home remain clean and dust-free during the sanding process. Secure the edges of the drop cloths with painter's tape to prevent them from shifting or sliding during the project.
Wrap Electronics and Delicate Items
Electronics, artwork, and other delicate items should be wrapped securely in plastic or bubble wrap to shield them from dust. Place them in sealed boxes or relocate them to a safe area away from the sanding zone to avoid accidental damage or contamination. Label boxes containing electronics and delicate items clearly and store them in a designated dust-free area until the sanding process is complete.
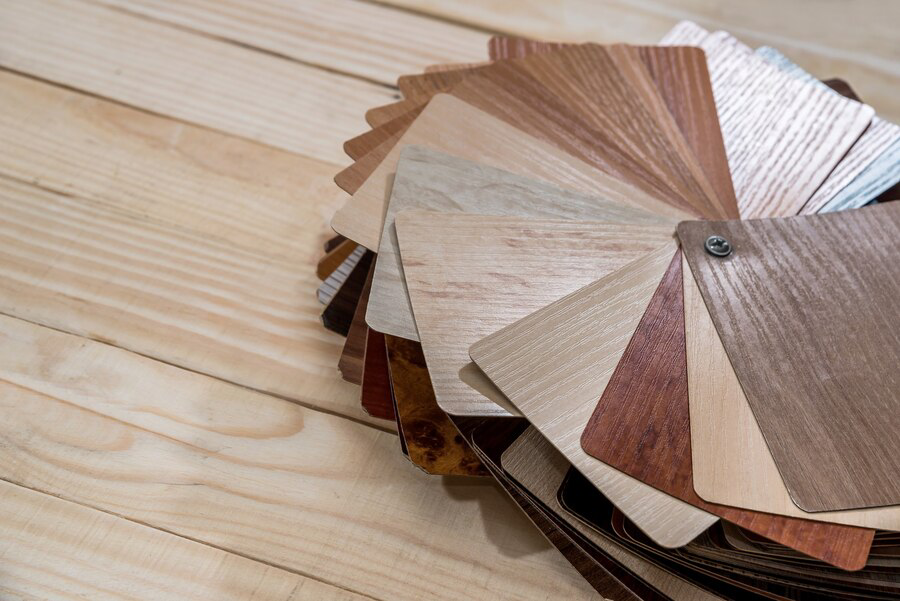
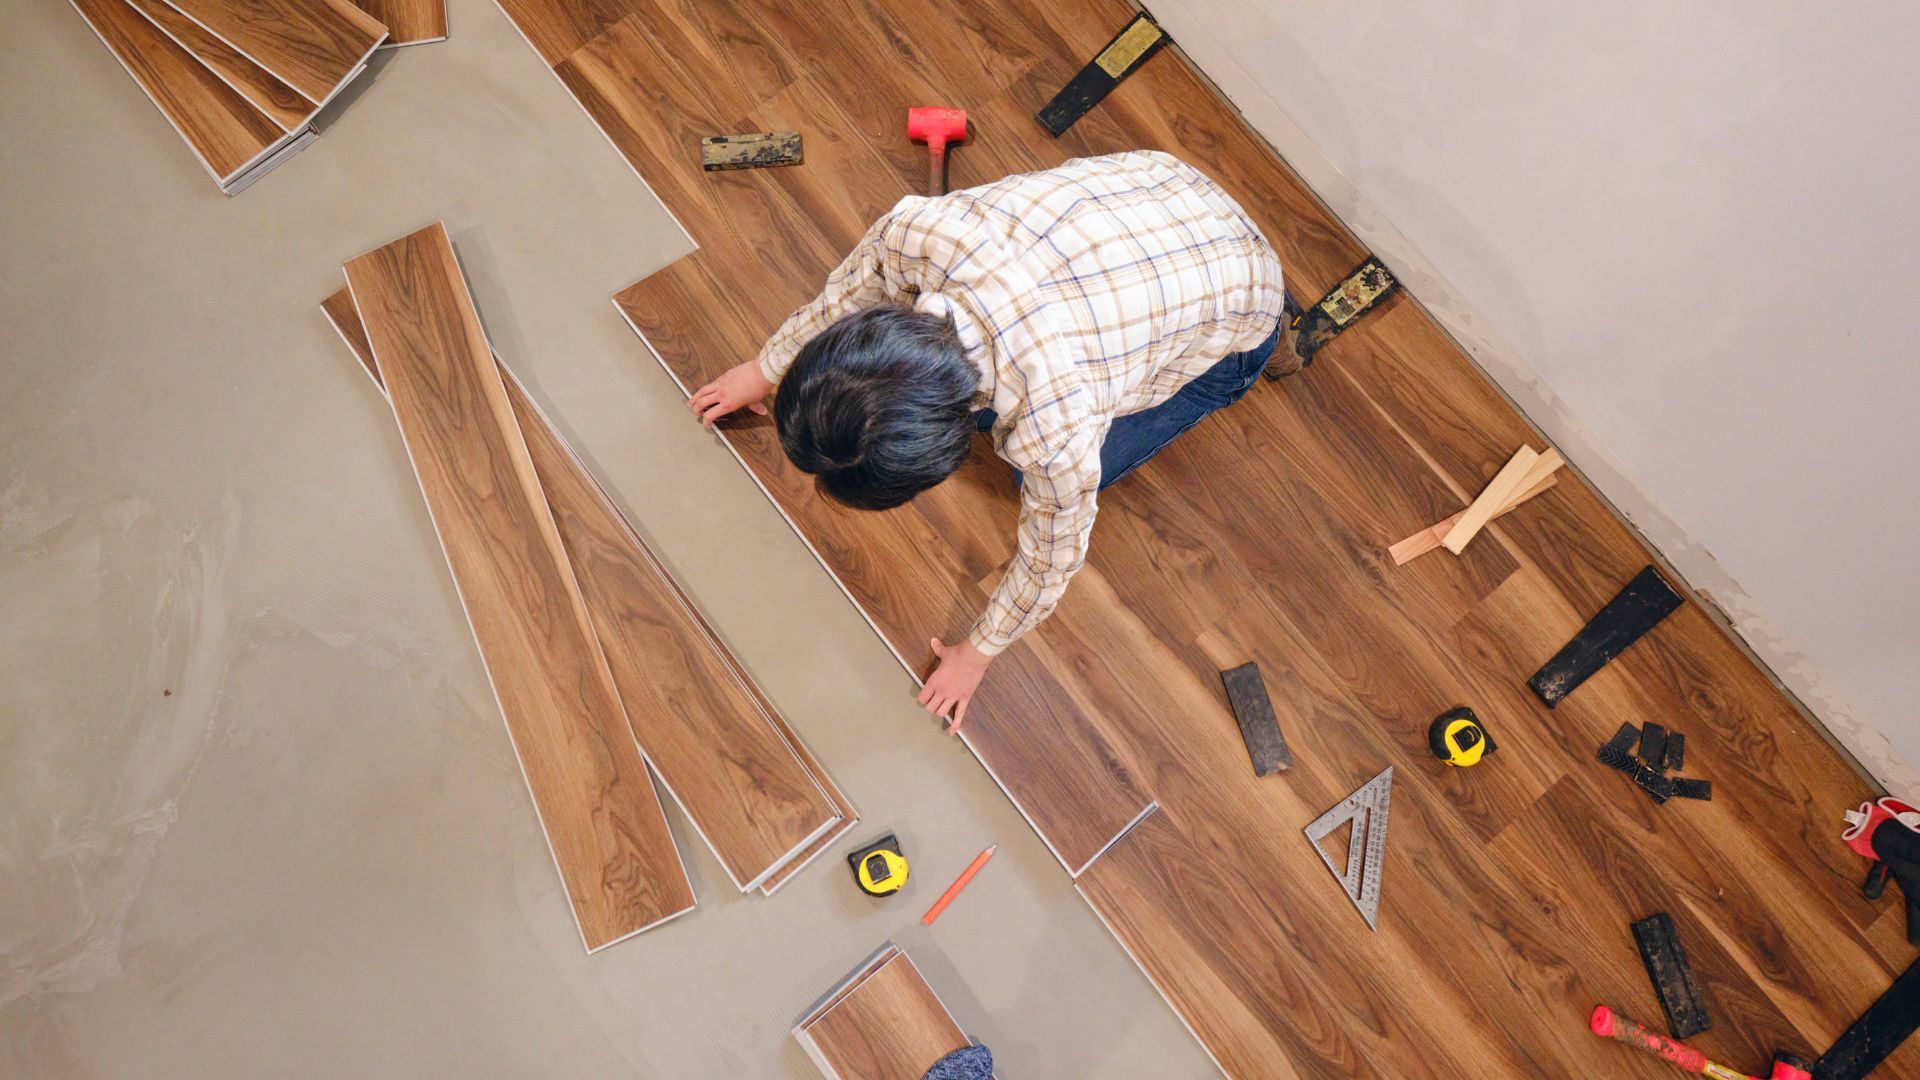
Preparing Different Types of Flooring for Dustless Sanding
Preparing your flooring properly before dustless sanding is crucial to achieving optimal results and preserving the integrity of your floors. Here are key points to consider for different types of flooring:
- Hardwood Floors: Ensure all nails are hammered down and any loose boards are secured. Clean thoroughly to remove dirt and debris.
- Laminate Floors: Repair any chips or scratches with appropriate filler. Clean with a laminate-specific cleaner to remove dirt and residue.
- Engineered Wood Floors: Check for any signs of delamination or loose boards. Use a vacuum with a soft brush attachment to remove dust and dirt.
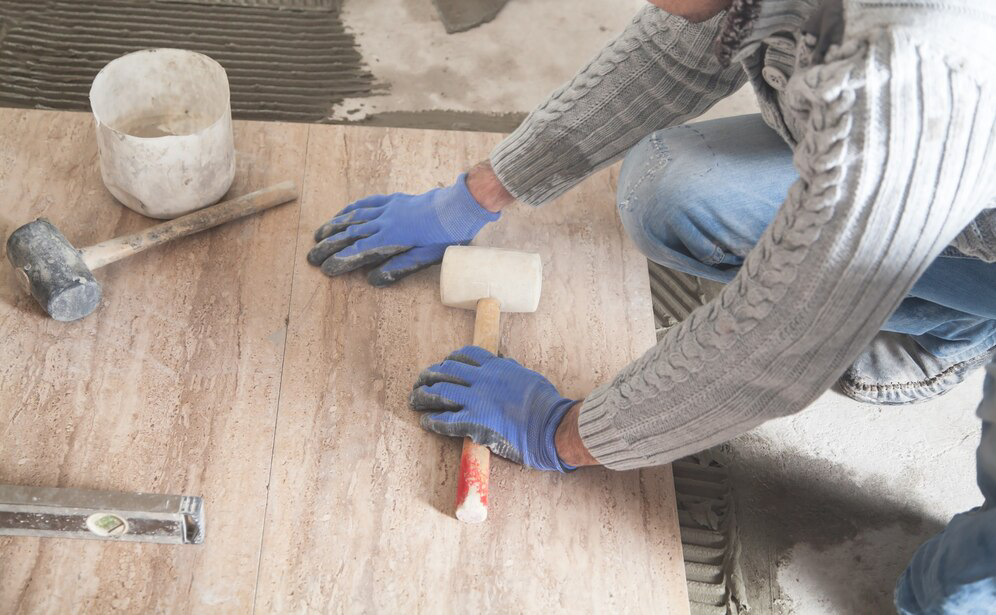
- Tile Floors: Grout lines should be cleaned and any loose tiles resecured. Vacuum or sweep thoroughly to remove loose dirt and debris.
Conclusion
Preparing for dustless floor sanding is not just about protecting your furniture and belongings; it's also about ensuring a smooth and efficient process that yields excellent results. By following the steps outlined in this guide, you can minimize disruption to your daily routine while maximizing the benefits of a refreshed floor surface. Remember, proper preparation and communication with your flooring professionals are key to achieving a dust-free environment and a beautifully restored floor.
If you have any further questions or would like to schedule dustless floor sanding services for your home in Arvada, don't hesitate to contact us at Calabrese Flooring CO. Our team of experienced professionals is ready to assist you in transforming your floors with our state-of-the-art dustless sanding technology. Reach out to us today at 720-384-8478 or visit our website to learn more about our services and how we can help you achieve the home of your dreams. Let's work together to bring out the natural beauty of your floors, dust-free and hassle-free.